Watercolor Crayon Butterfly

Embracing Imperfection
As creators, we are sometimes overly critical of our work and think we aren’t good enough. We believe that our lines must be sharp, our color must be within the lines and it all must be just right. This project is about embracing imperfection and letting the color and lines exist where they are.
Supplies used
I am letting you know about the specific supplies I used, but many are no longer available, so I will also name some alternatives.
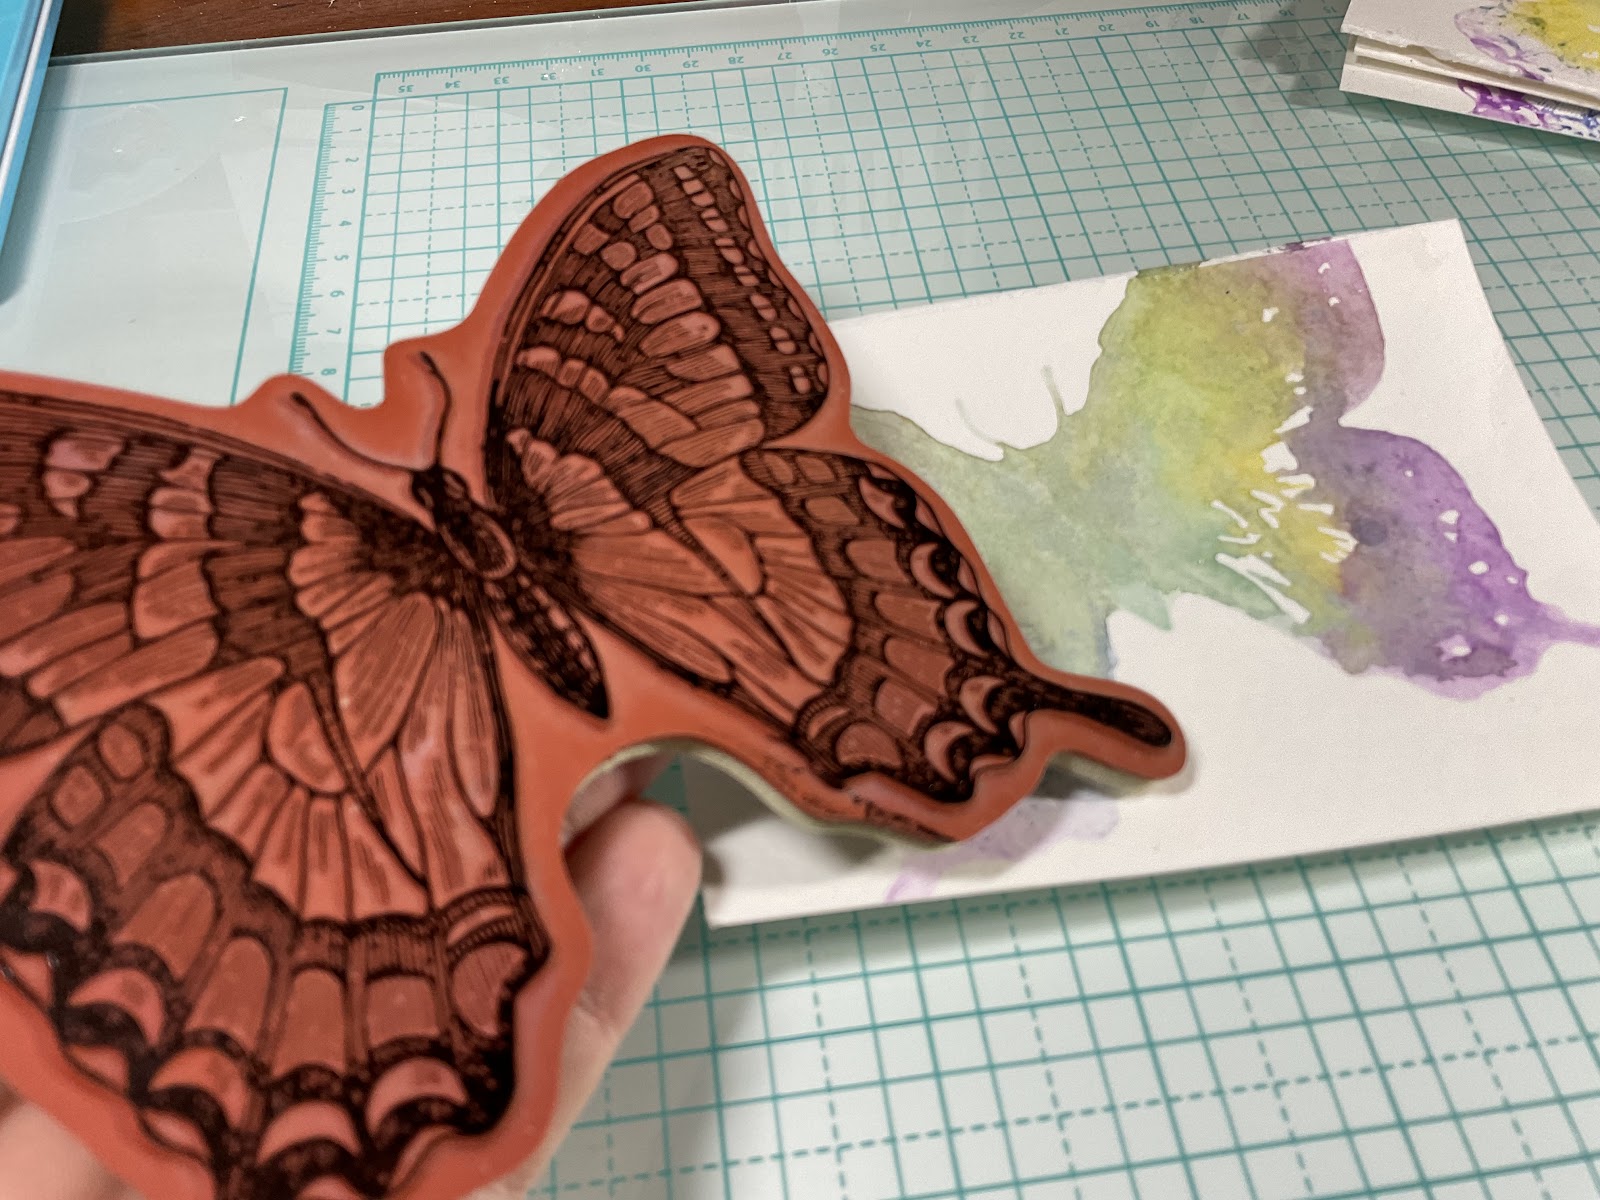
- Stampin’ Up!’s Swallowtail stamp, any large detailed butterfly or detailed floral stamp will work here.
- Smaller butterfly stamps, or florals if you prefer. I used the Not 2 Shabby Shops, Spread Your Wings set.
- Watercolor Crayons. I have an ancient set from Stampin’ Up! but Crayola makes Twistables, Slick Stix and I found some from the Target Up and Up Brand that are very inexpensive. Tim Holtz makes some, as well. Any student grade set will work.
- Paper punches or die cuts in butterfly or heart shapes.
- 1 ½ inch wide ribbon or fabric that is butterfly or floral-themed. Cut to 5 ¾ inches in length. I purchased mine at Michaels Crafts Store under the Recollections brand during a clearance sale.
- Premade sentiments, I made my own and keep them for whenever I need them but Tim Holtz makes a fantastic selection of sentiment sticker books that would work very well here.
- Tim Holtz Distress Sprayer, or another small spray bottle with water.
- Black ink for stamping over your watercolor image.
- Versmark or Watermark ink for tone-on-tone stamping
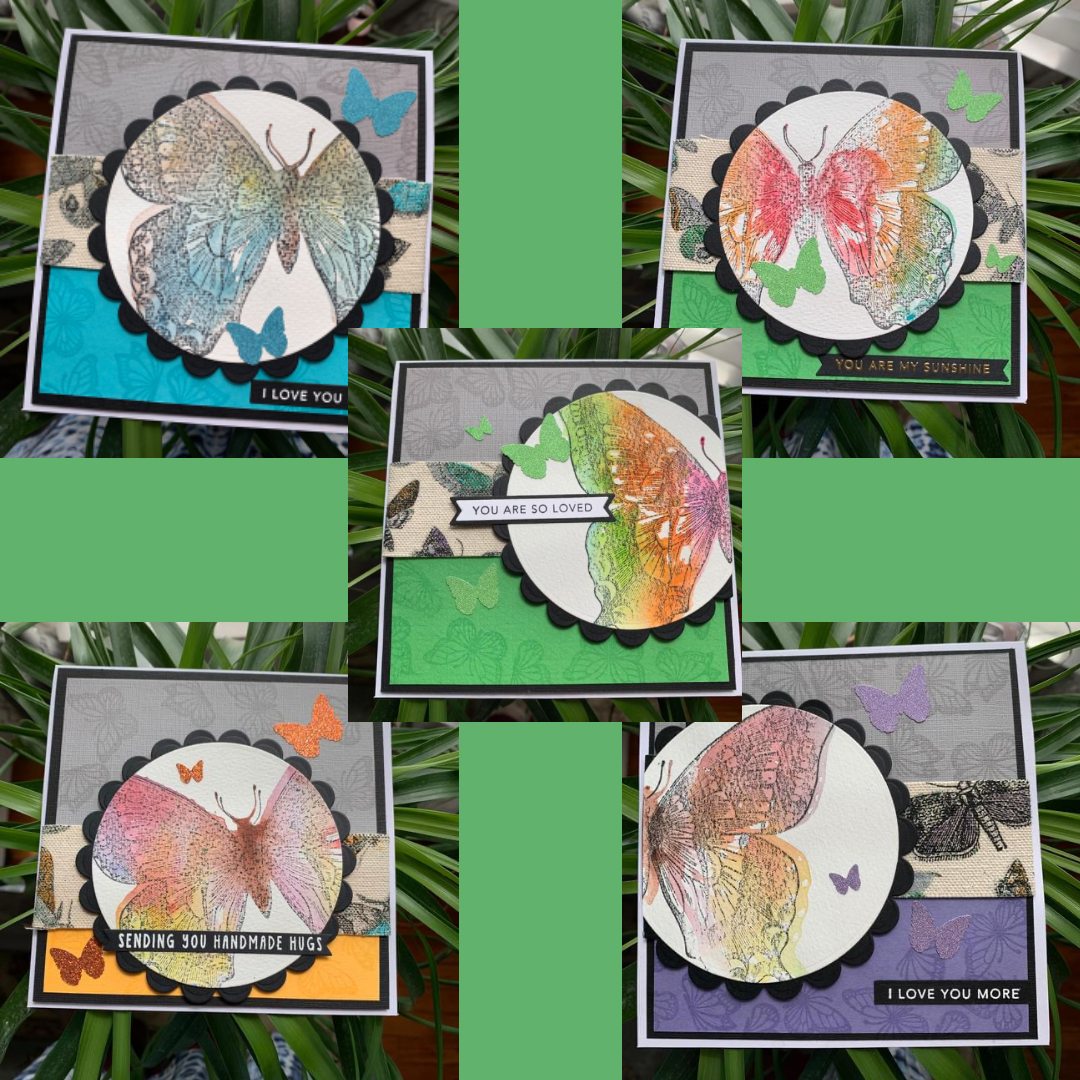
- Dies or tools to cut your image into a circle and to cut the black matting layer for your image into a scalloped circle, like the images shown above. An alternative would be to simply cut your image square or rectangle using a paper cutter and cut your black matting layer ¼ inch larger. See an example at the end of this article.
- 5x5 inch piece of craft foam or you can use adhesive foam tape or adhesive foam squares.
- Paper, all measurement is in inches.
- Watercolor paper cut to 4 ¼ by 5 ½. Any brand or quality should be fine.
- 5 ½ by 5 ½ cards and envelopes by Park Lane, Joanne Stores, Inc. You can cut your own paper to size and make your own envelopes but I find using pre-made cards and envelopes so easy and reliable.
- 5 ¼ by 5 ¼ black textured cardstock from Stampin’ Up! This will be your base matting layer. Plain cardstock will be fine also.
- 5 by 2 ½ gray textured cardstock by Stampin’ Up! I love the look of textured card stock so consider using an embossing folder, if available, to texturize your paper after you have stamped any images.
- 5 by 2 ½ complementary colored cardstock, something that compliments or mimics the colors in your watercolor crayon image.
- Glitter paper in colors to match your colored card stack, scrap pieces will work.
- Don’t forget your favorite adhesive or tape!

Let’s start with the easy part.
Like a butterfly must first exist as a caterpillar, so must our projects exist in a process to become its final form. Gather your supplies, cut your paper to measure, and let’s begin building.
Create a tone-on-tone layer
I used Versamark ink, which is a clear, glycerin-based ink, to stamp with smaller butterflies around the right, left, and top sides of my gray textured cardstock and then around the right, left, and bottom sides of my colored cardstock. The clear ink will leave a tone-on-tone impression on the paper.

Next, I adhered the stamped gray and colored card stock to my 5 ¼ by 5 ¼ black layer leaving a ⅛ inch wide border of black. The tone-on-tone images should appear on the outer edge with a blank spot in the center, this is where my final image will go.
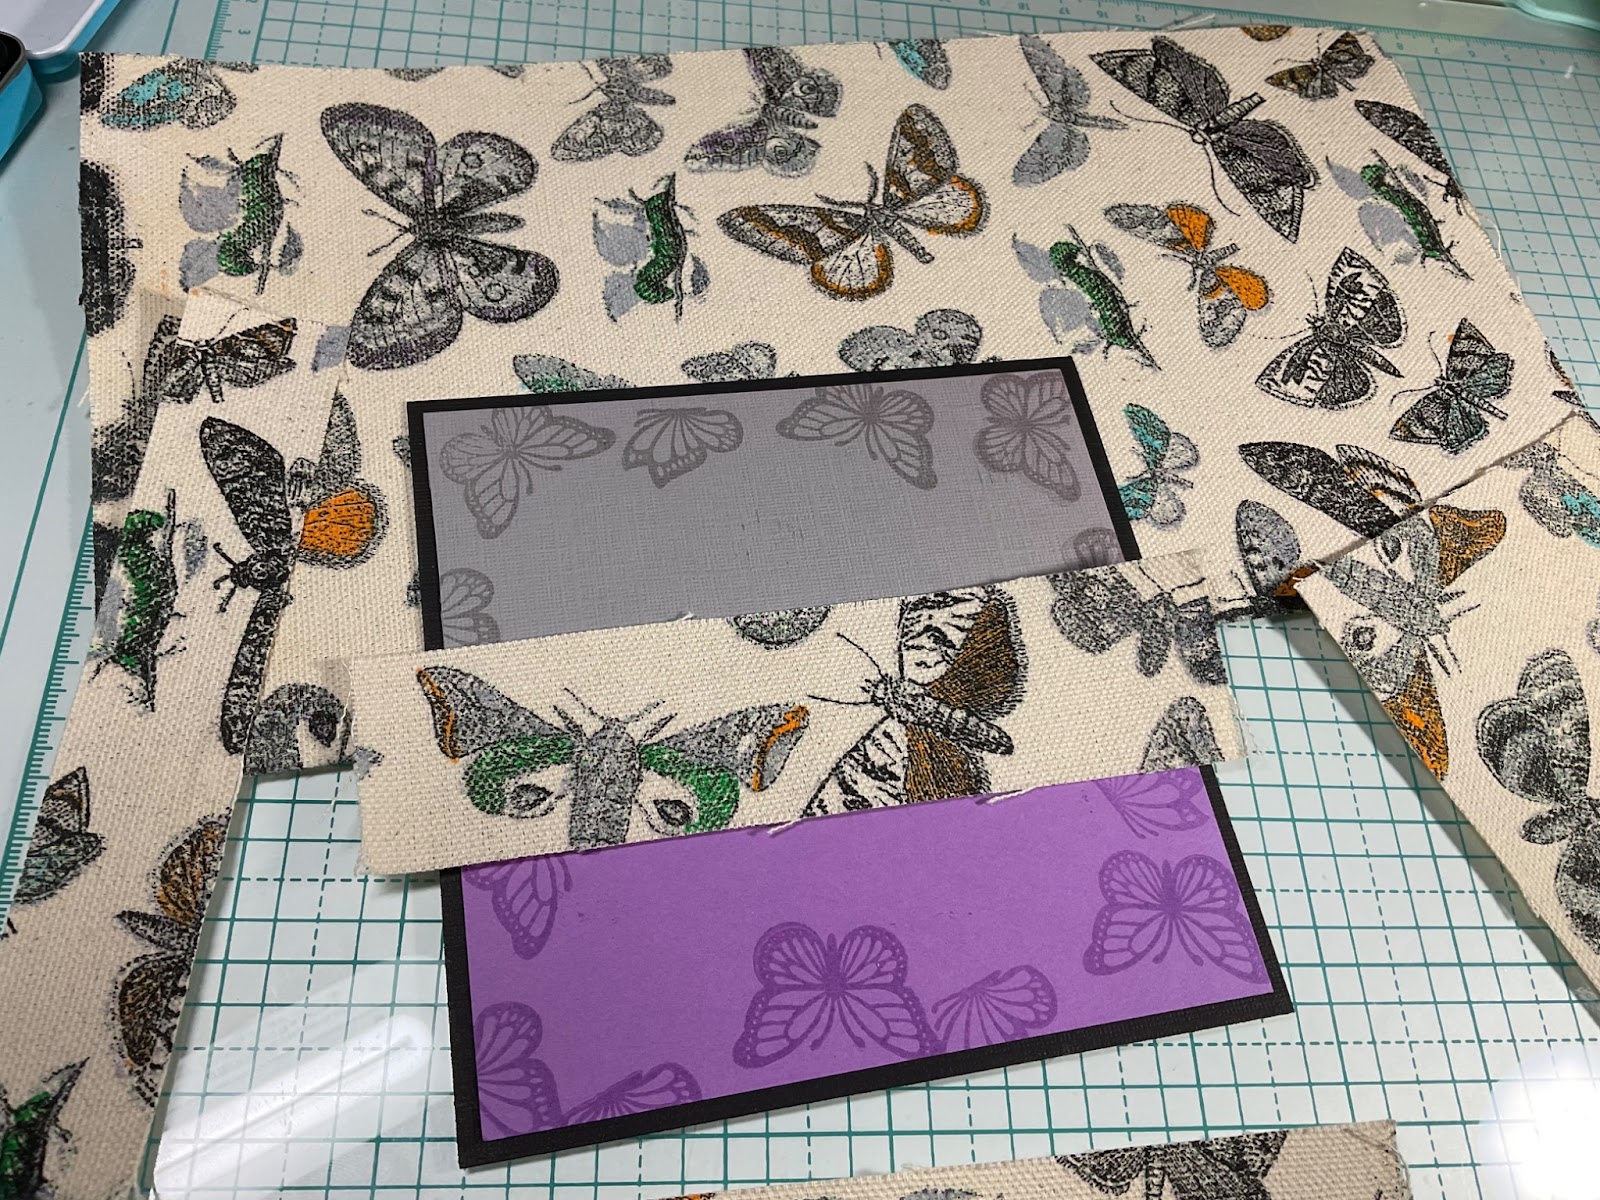
I placed the precut fabric across the middle, covering where both layers of tone-on-tone stamped cardstock meet, then I wrapped the extra around the back and taped it down using Scotch tape.
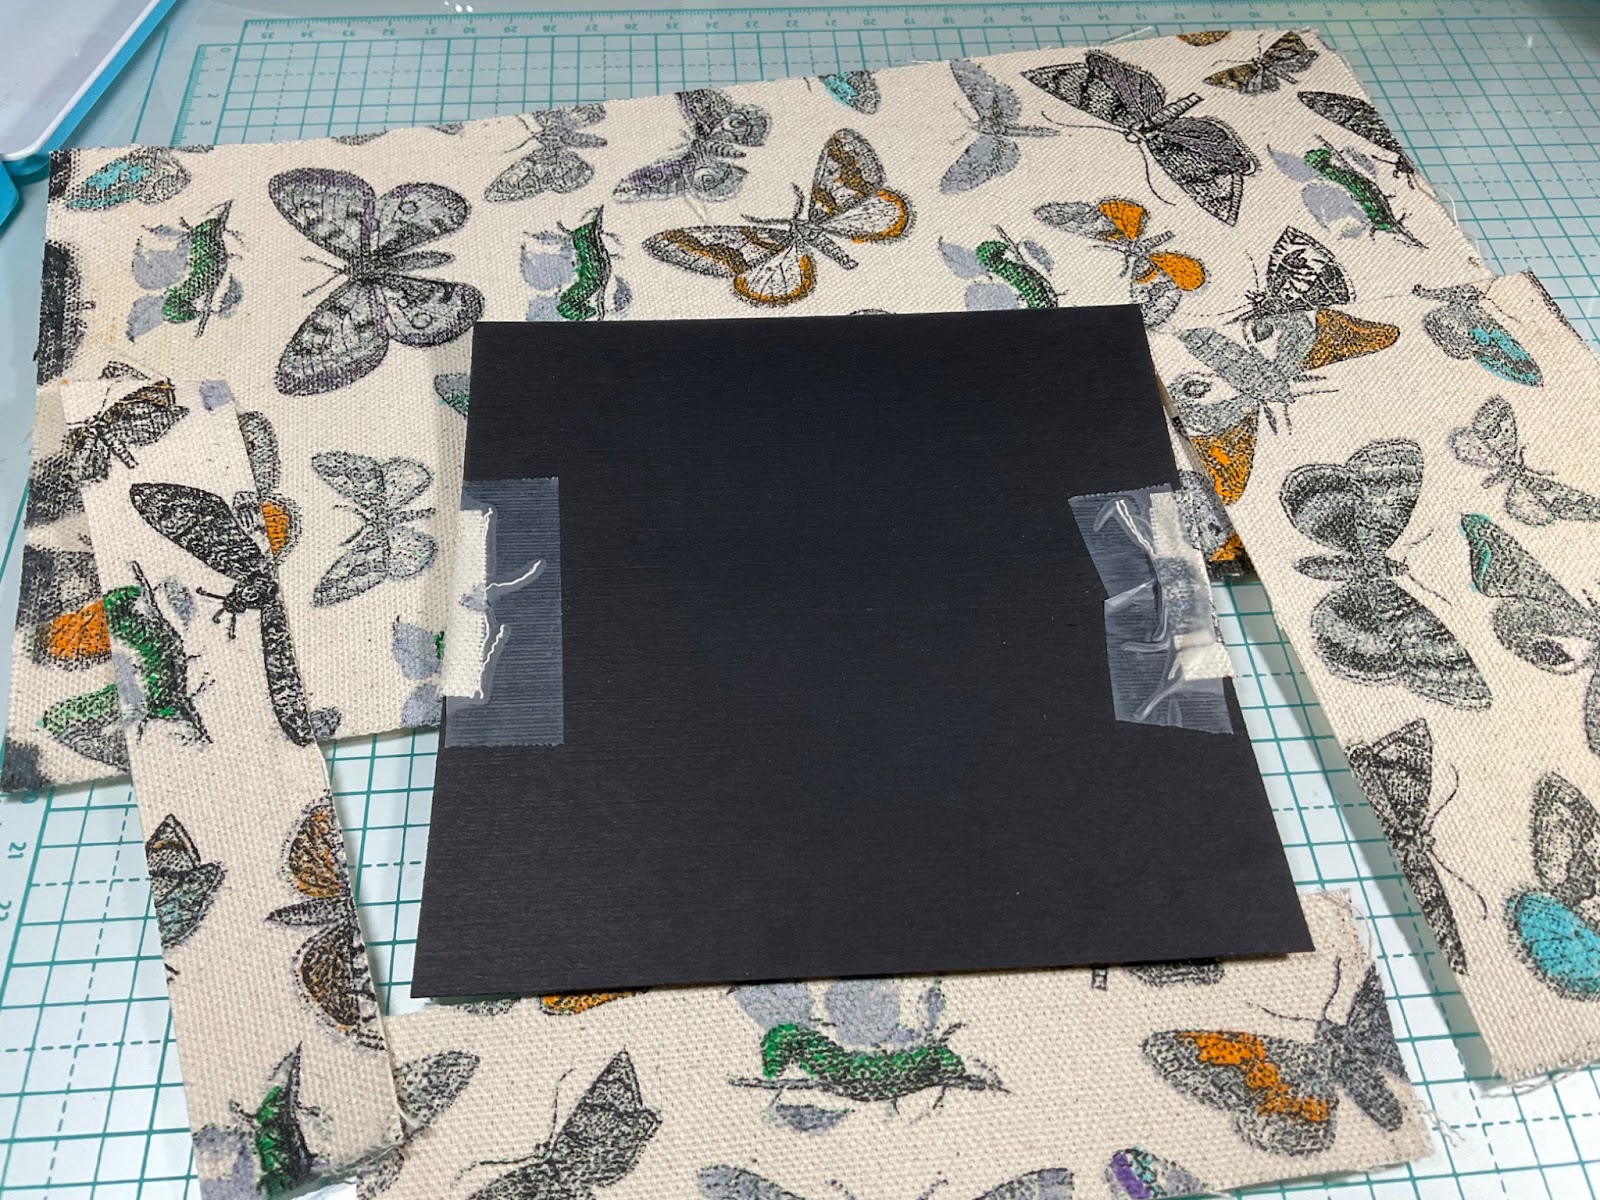

I used craft foam under this main layer to pop it up off of the card base. Adhesive foam can also be used.
Creating the central image
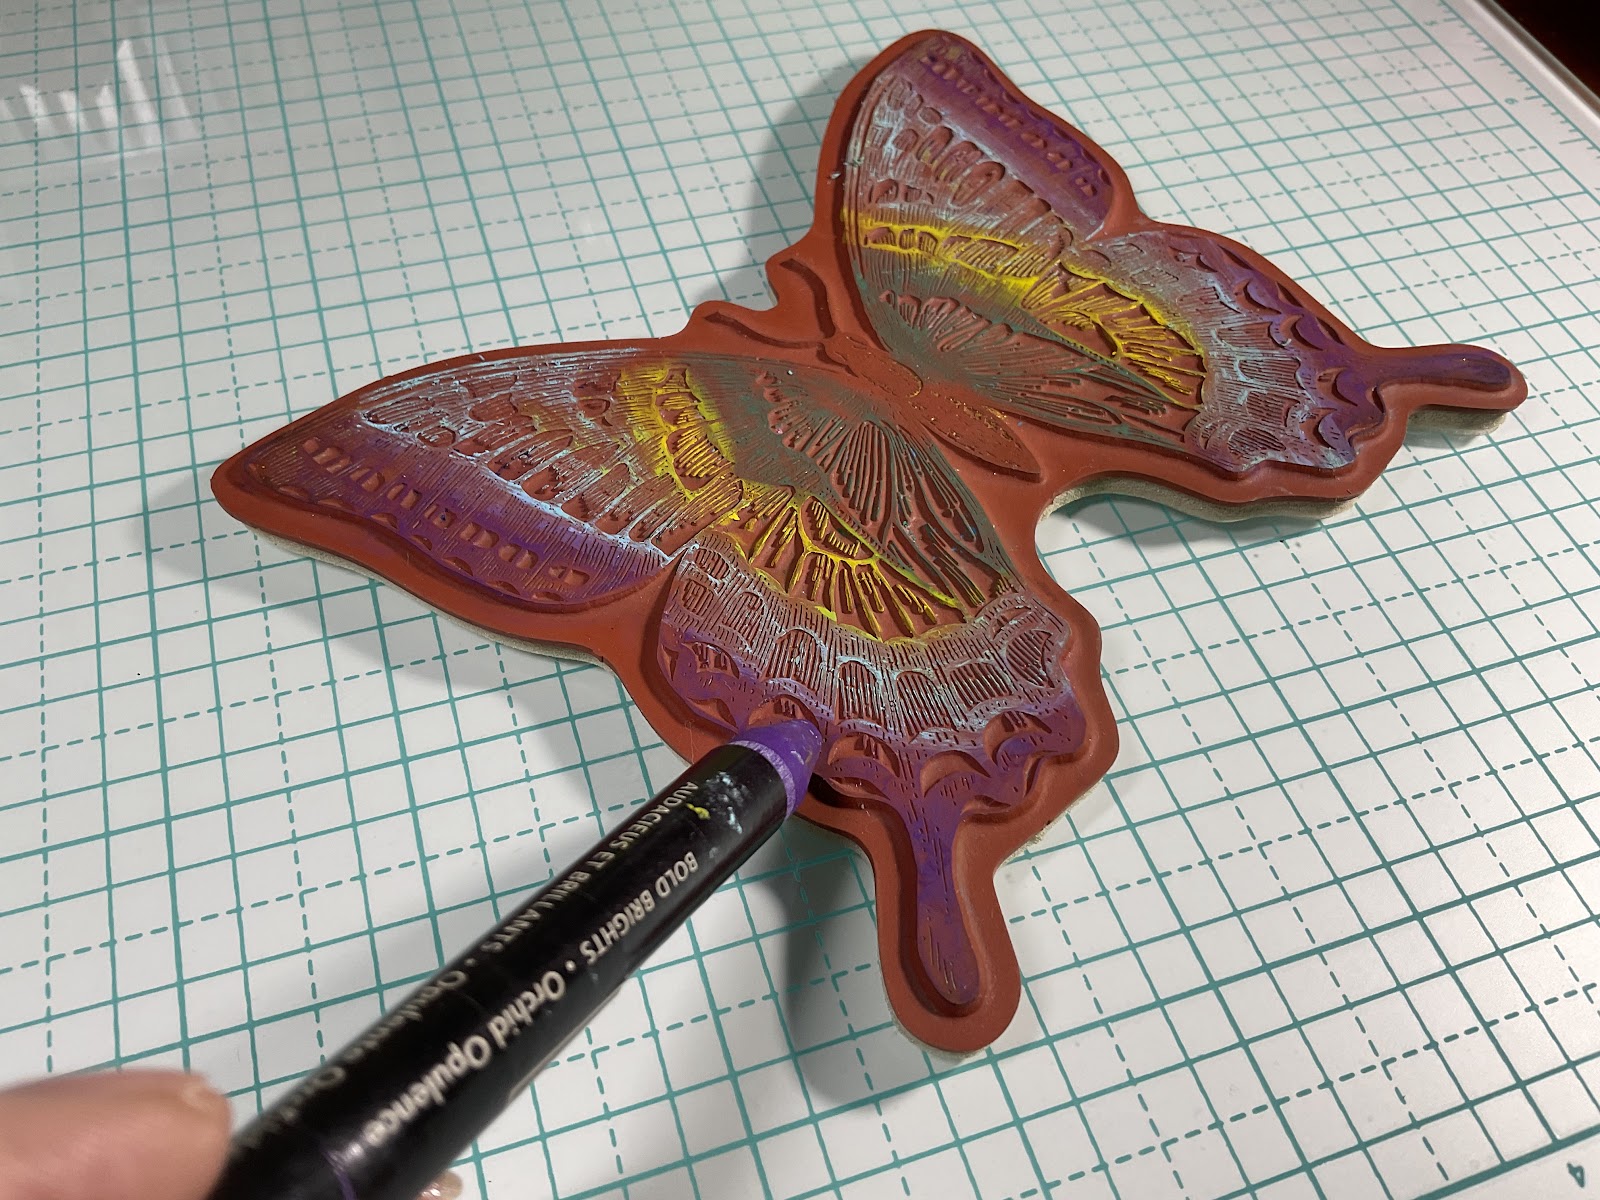
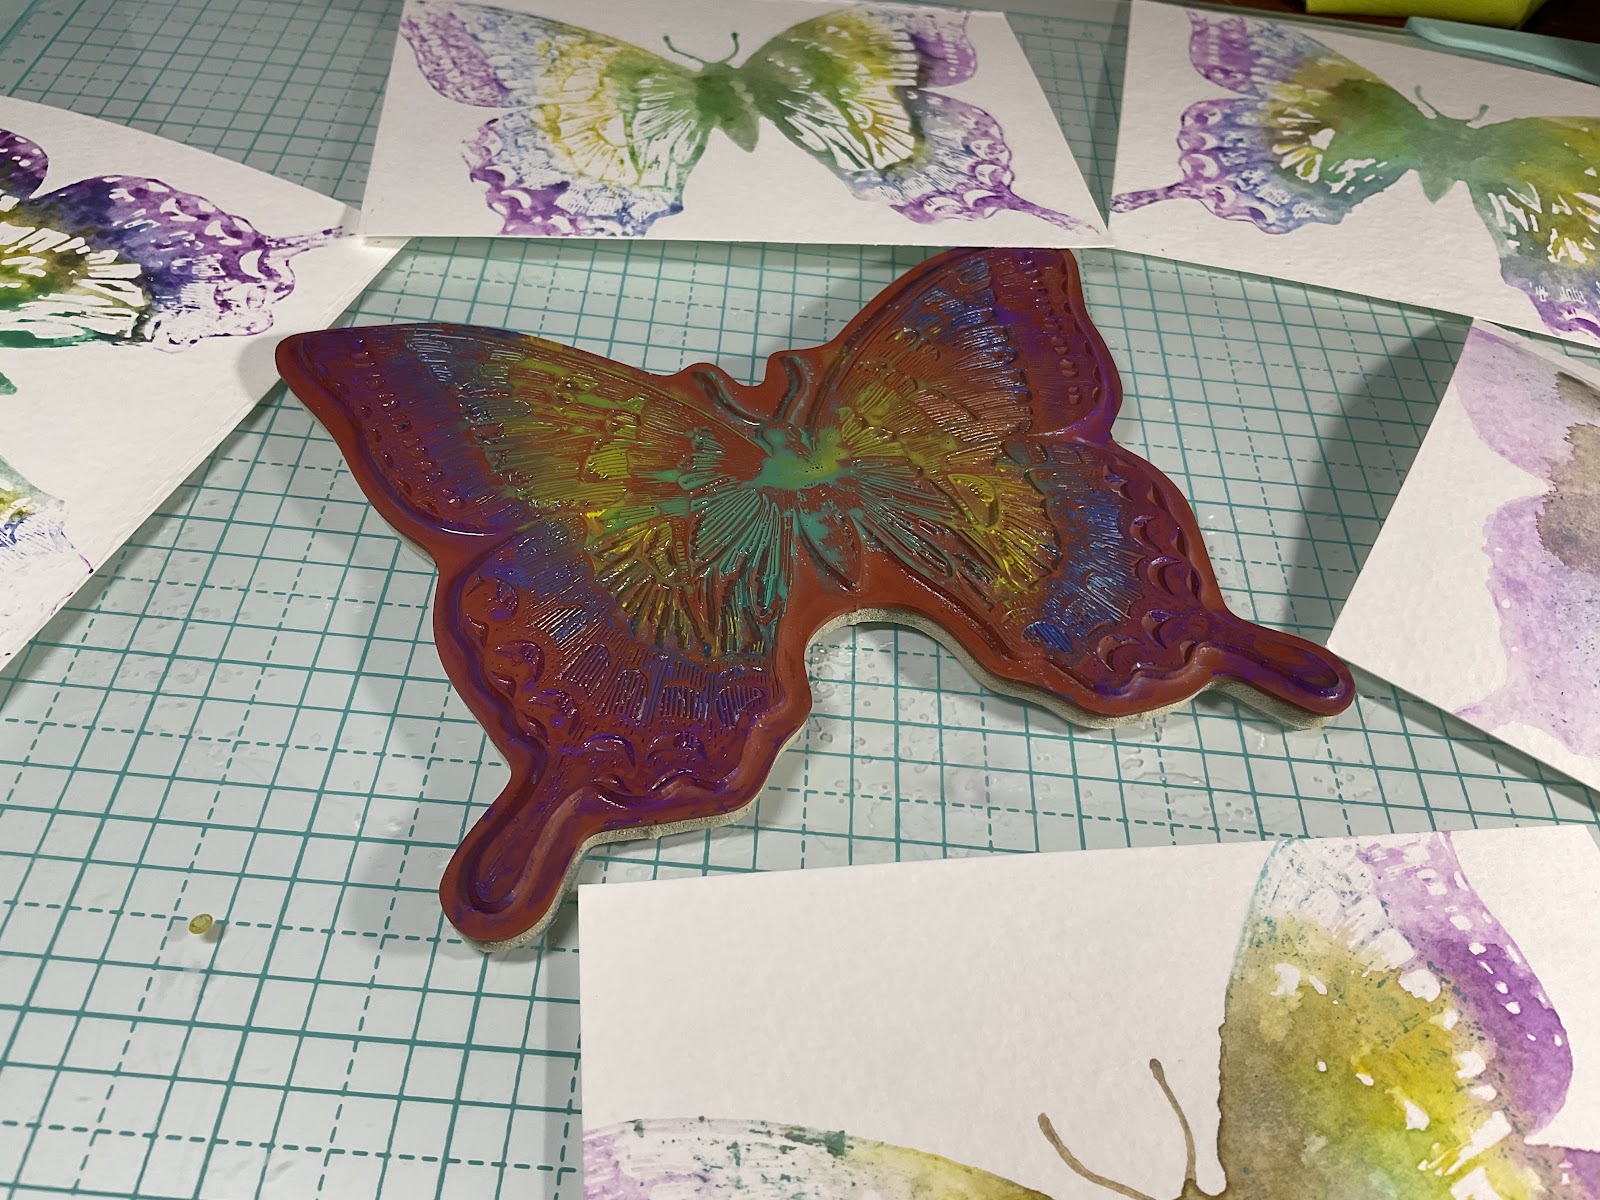
I laid my stamp down on my work table and scribbled on the image with watercolor crayons. I used colors I like and multiple colors. Once you have covered the image in color, spritz the stamp with water, once or twice. The water will activate the crayon colors.
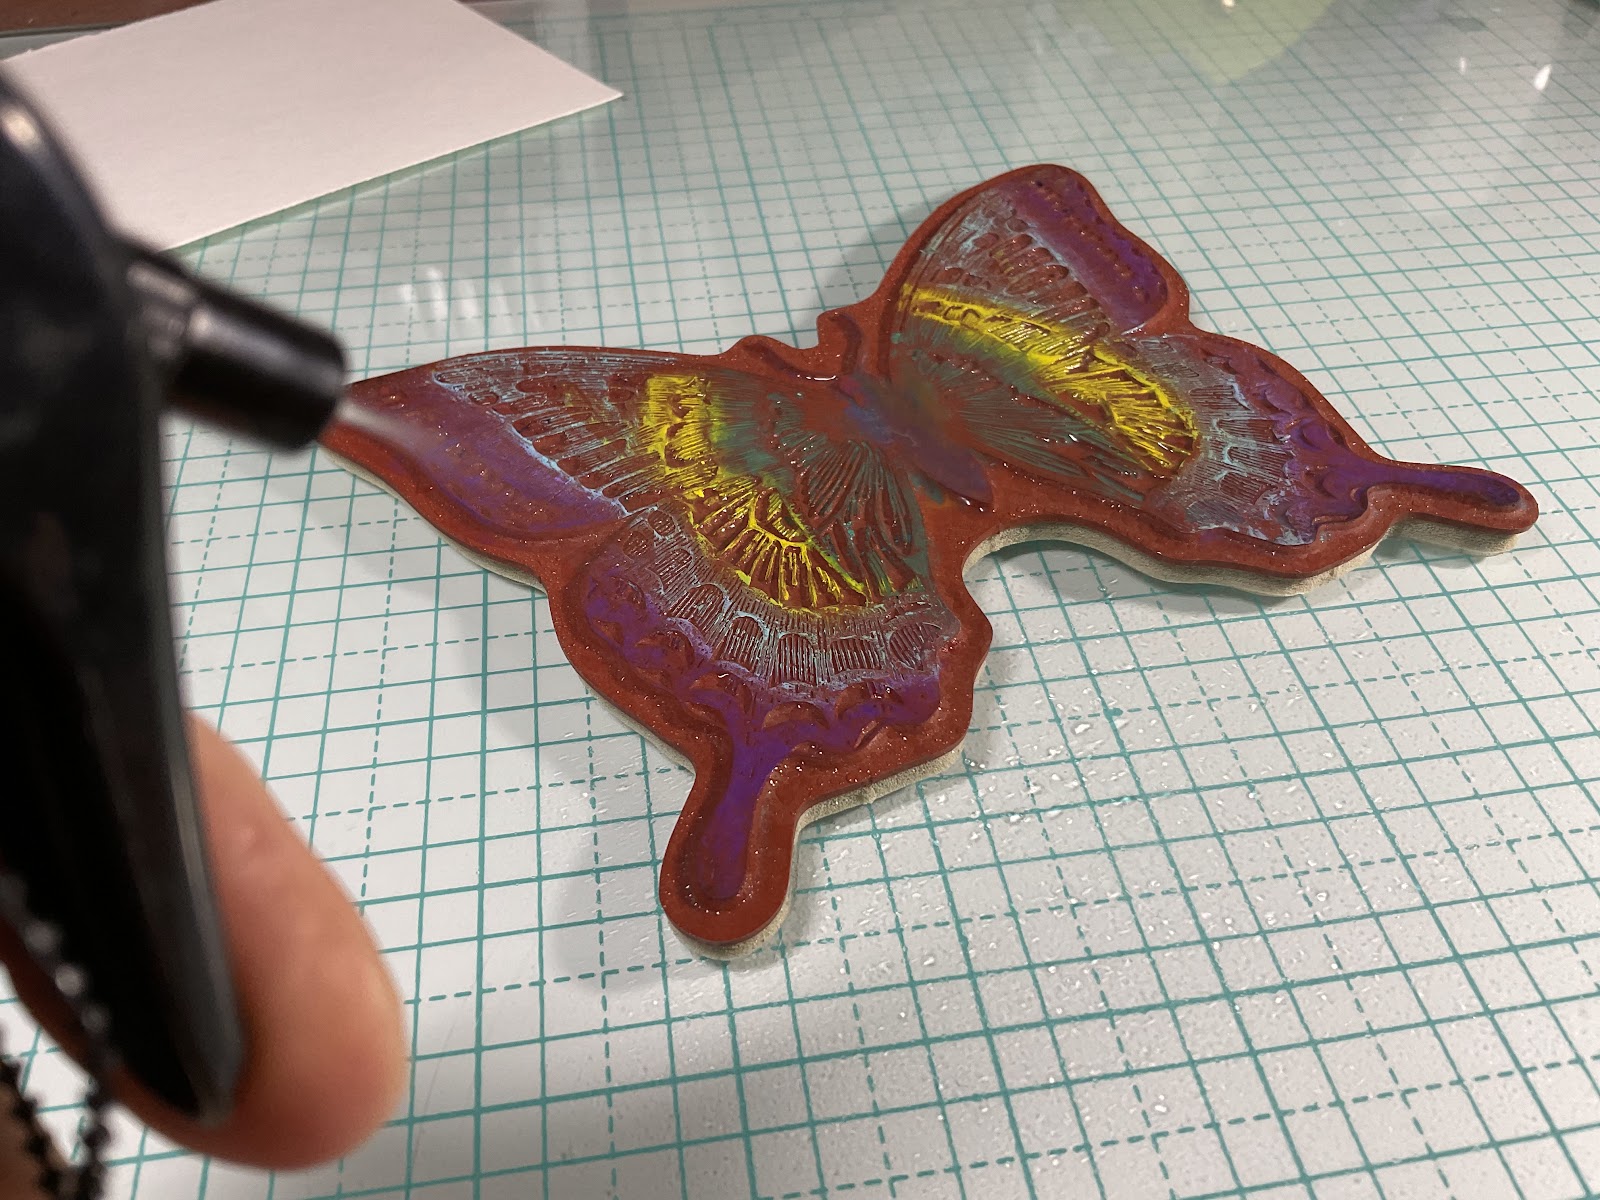
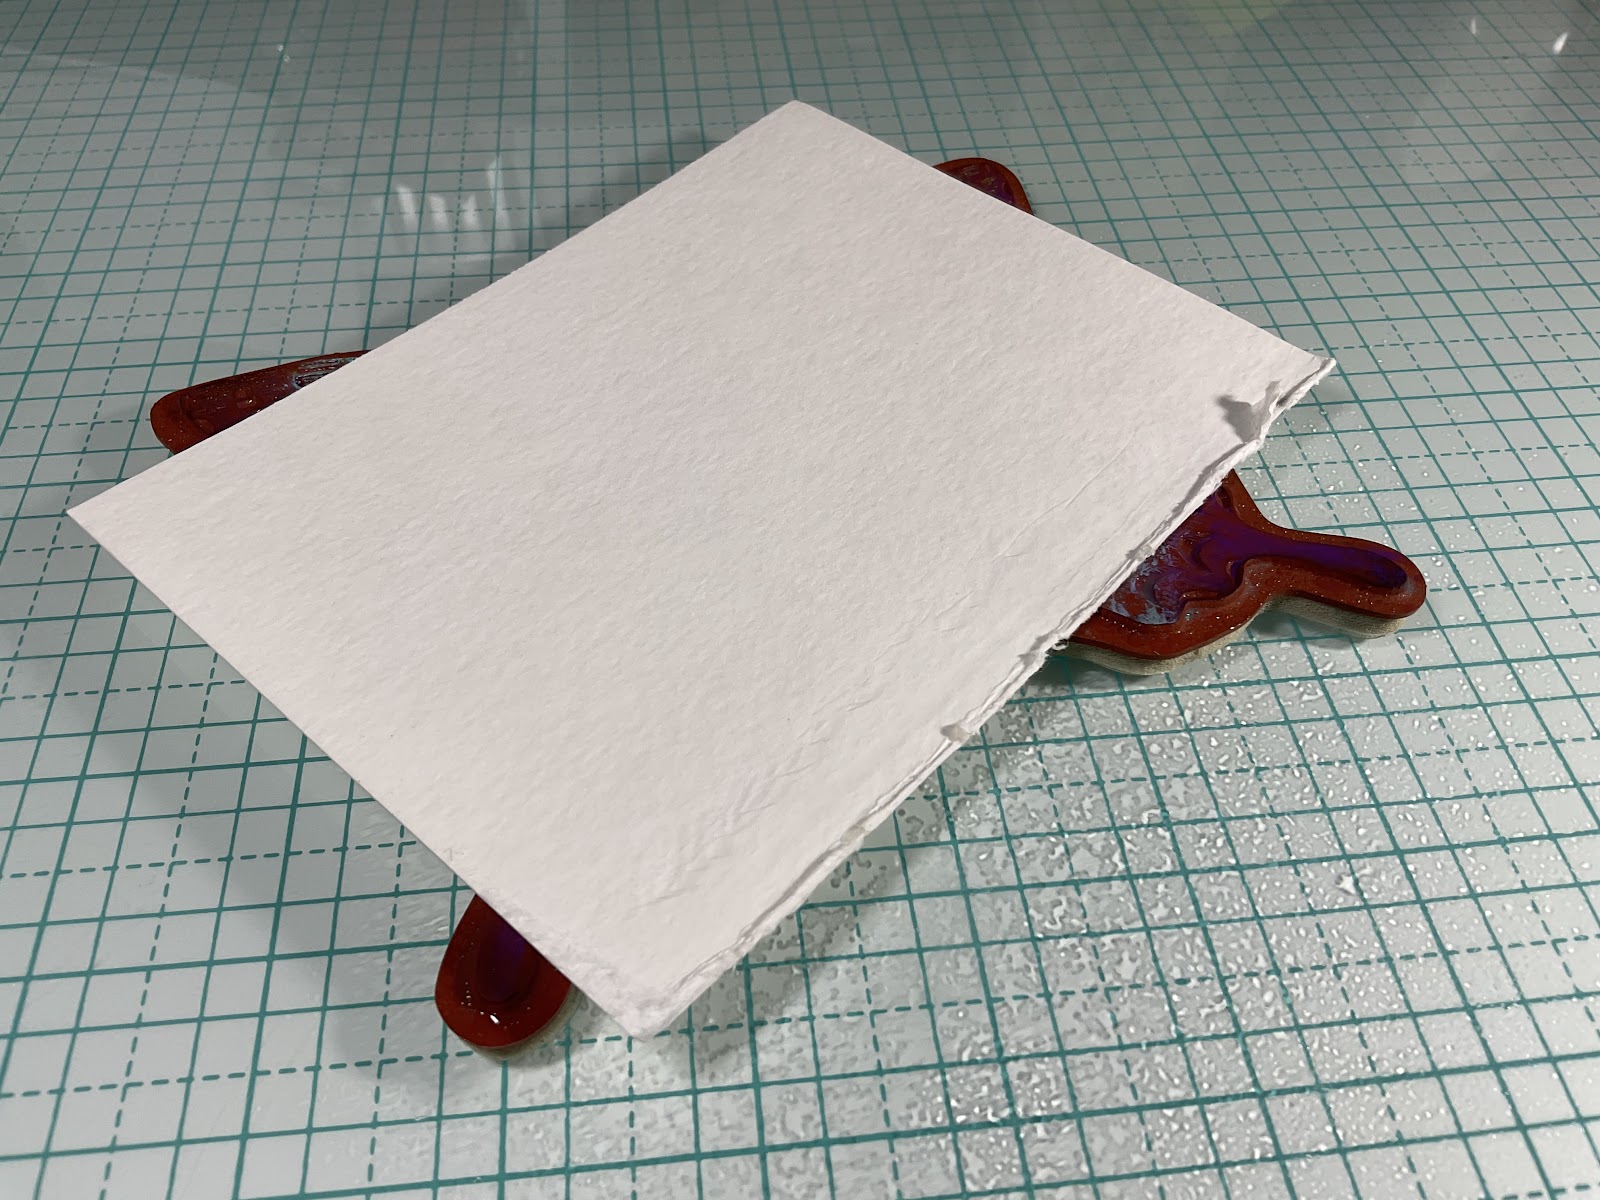
I kept coloring and spritzing plenty of water on the image and kept pressing my watercolor paper on the image, making several before I decided it was too much fun for one person, and then went to the kitchen to clean my stamp. Each time I do this I come away with multiple images and I usually use different stamp sets to test the look. Any way I do it, it comes out amazing and it is so much fun!
The butterfly has been a symbol of the soul since ancient times. The metamorphosis of a caterpillar to a butterfly is imagery used to symbolize the transforming process of spiritual rebirth.
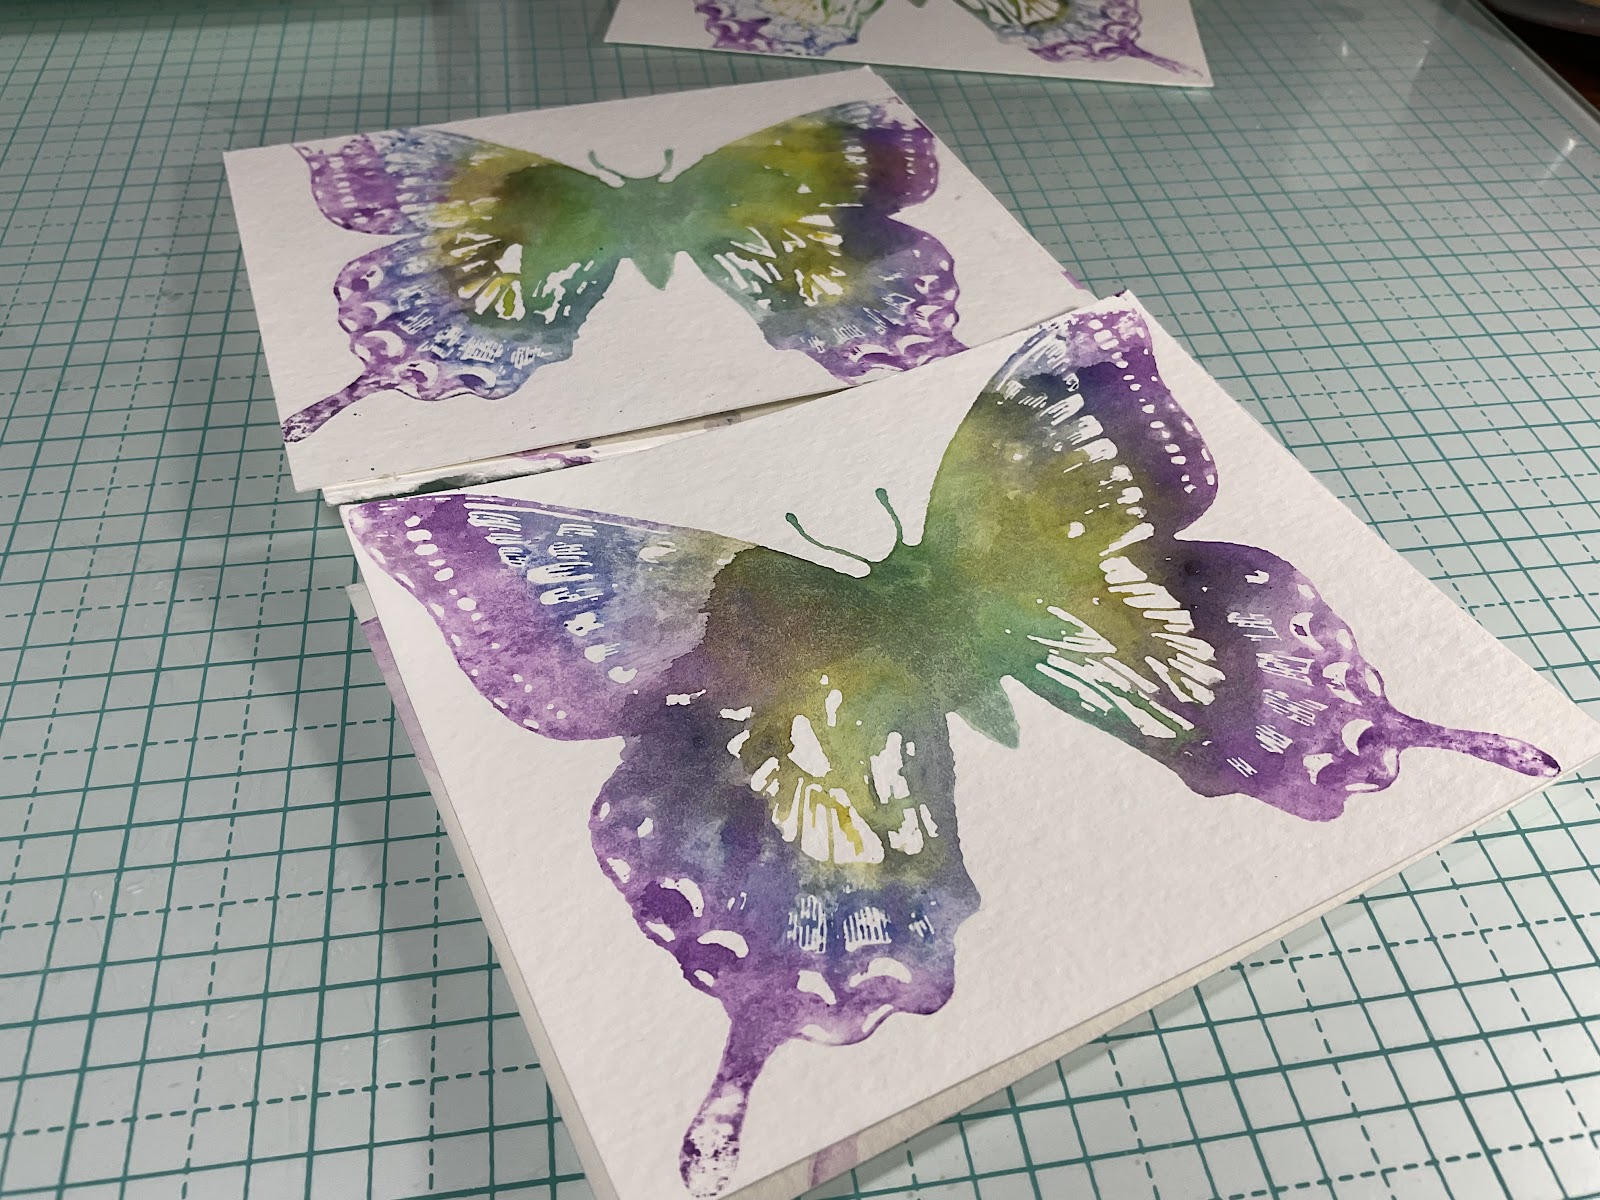
I loved the image as is, but I wanted more texture so I stamped on top in black ink using the same Swallowtail stamp. There are stamping tools to help you stamp over an image multiple times perfectly and I have one but I didn’t start with my images using that tool so I just had to wing it and try to place the inked stamp over the existing image.
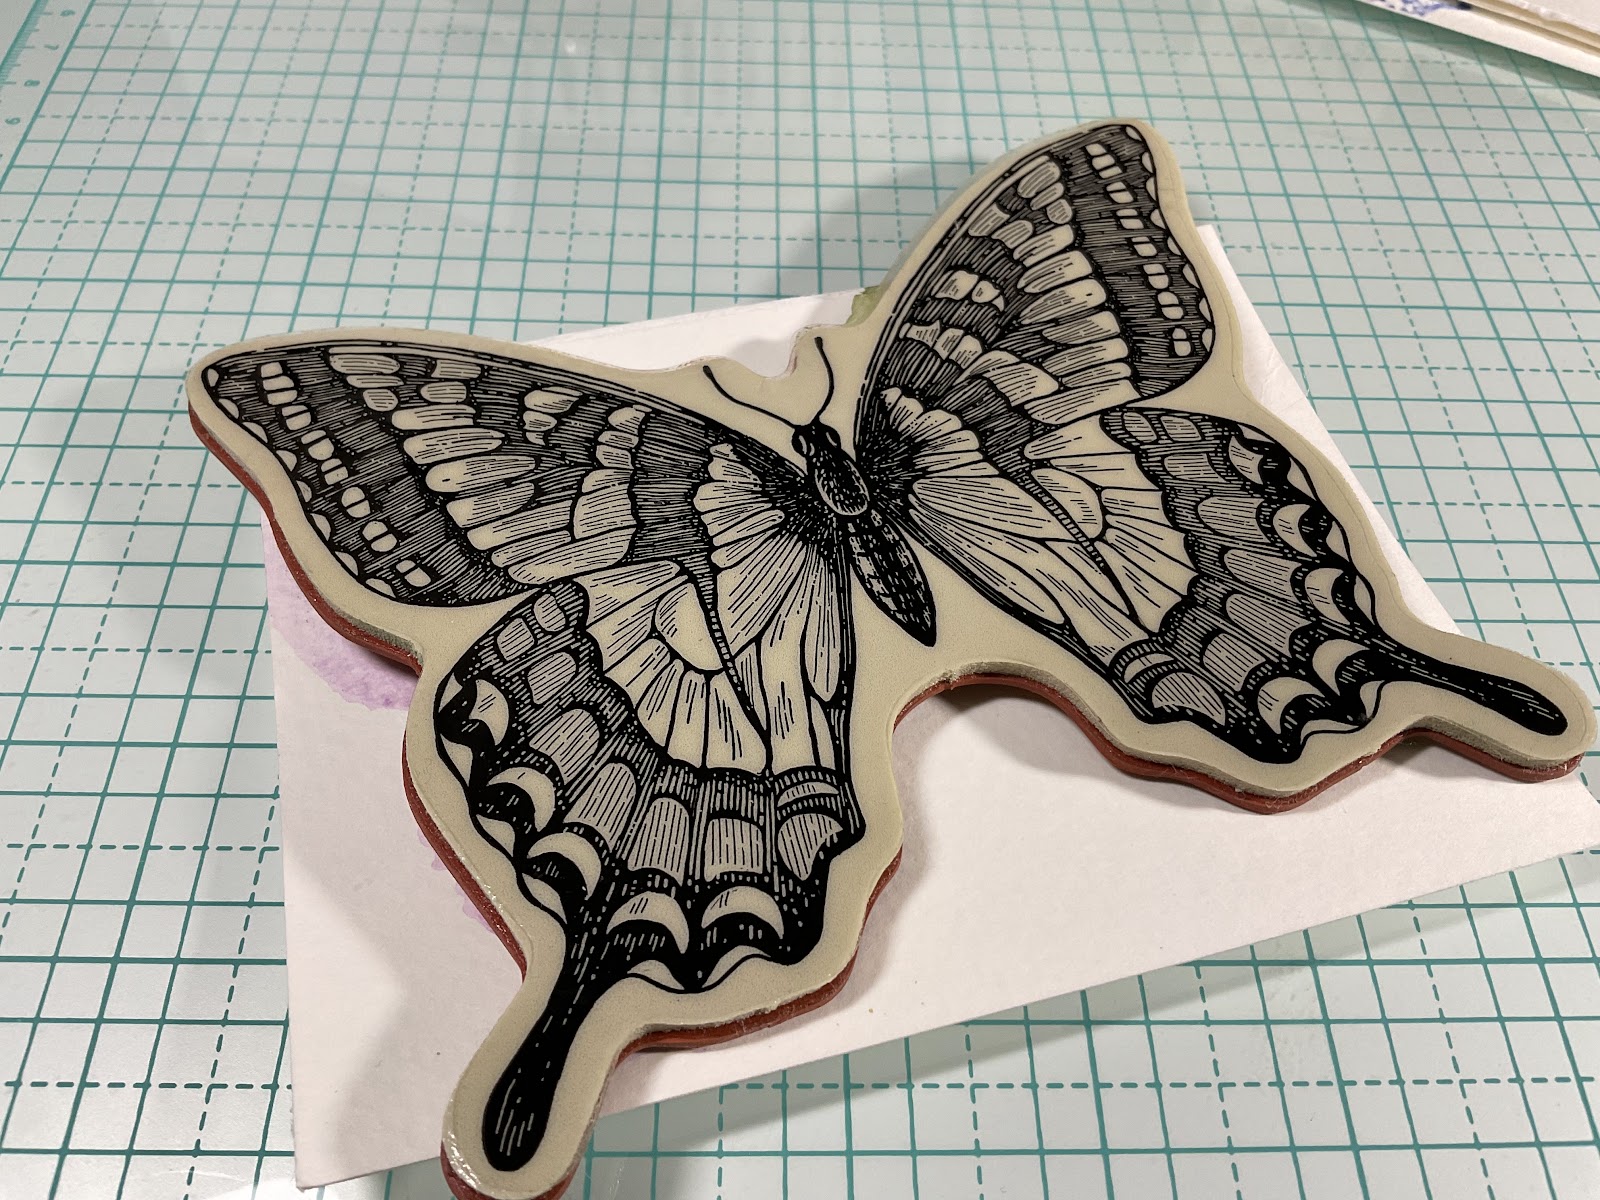
I wasn’t able to stamp it perfectly and I like it just the way it turned out! I think it looks like the symbol of a butterfly rather than an image of a real butterfly. It is a representation of the spirit reborn. It looks like the spiritual joining with the physical. It moves as the wings of a butterfly move.

I hope you like this project and try it out for yourself. Let me know how your project comes out! You can post your projects on the Cool Cakes and Crafts with Amalia Facebook Group using #EmbraceImperfection.
No comments:
Post a Comment